
Ah, manual mode photography. It might sound intimidating at first, but trust me, it’s absolutely within reach and well worth the effort. So, what exactly is the manual mode? It’s a setting on your camera that lets you control the main elements of exposure—ISO, aperture, and shutter speed—giving you total command over how your photos turn out.
There are some serious perks to shooting in manual mode. First up, creativity. You get to decide how bright or dark your photo is, what’s in sharp focus, and what’s got that lovely background blur (bokeh). Plus, shooting in manual mode gives you a deeper understanding of photography itself, which in turn makes you more adaptable in different shooting conditions.
Now, you might be thinking, ‘This sounds like a lot.’ But it’s doable, for real. Anyone can learn manual mode. It’s just a matter of practice and patience. Start slow, maybe focus on one element at a time, and build from there. You don’t have to get it all perfect right away.
The true joy in manual photography? It’s that moment when you capture the shot exactly how you envisioned it. There’s something immensely rewarding about seeing your creative ideas come to life just the way you intended. So, grab your camera, and let’s get started on this journey together!
Getting Started: Essential Settings for Manual Mode
Manual mode gives you more control over how your photos look, and understanding key settings is where it all starts. Let’s break down the big three settings: ISO, aperture, and shutter speed. These are the building blocks of exposure.
ISO is your camera’s sensitivity to light. Lower ISO values like 100 or 200 are great for bright, sunny days. Higher values, like 1600 or 3200, work better in low light but can introduce graininess or ‘noise’ to your photo. Keep an eye on that balance!
Aperture is like your camera’s iris, controlling how much light gets in. It’s measured in f-stops. A lower f-stop (like f/1.8) means more light and a shallower depth of field (your subject is in focus, and the background is nicely blurred). A higher f-stop (say, f/16) lets less light in but keeps more of the scene in focus.
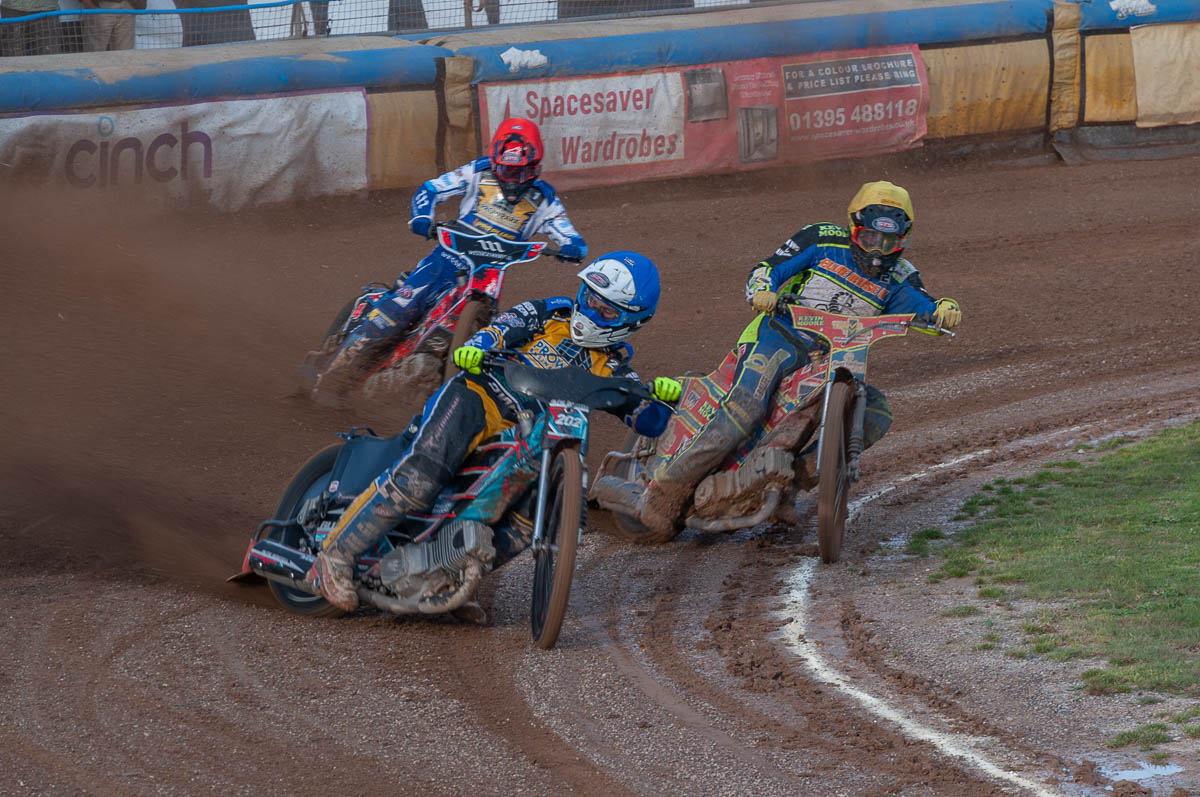
Shutter speed is how long your camera’s shutter stays open to let light hit the sensor. Faster shutter speeds (1/1000) freeze action—perfect for sports or fast-moving subjects. Slower speeds (1/30 or lower) can create motion blur, ideal for capturing those dreamy waterfall shots.
Balancing these three settings is key. It forms what’s known as the exposure triangle. Adjust one setting, and you’ll likely need to tweak the others to maintain a well-exposed photo. It sounds complex, but practice makes it second nature. Start with small changes and see how they affect your shots.
A common pitfall is relying too heavily on one setting while ignoring the others. It’s all about balance. Don’t worry if your shots aren’t perfect right away. Experiment with different combinations to see what works best for you. Over time, you’ll develop an eye for what adjustments are needed in various lighting conditions.
Priority-Setting Modes
However, there are priority-setting modes: Aperture Priority (A or Av) and Shutter Priority (Sor Tv). These modes offer a bridge, making the transition to full manual a bit easier. However, there is a Creative zone which you might think is similar to the basic zone Full Auto setting. However, there are differences, and would recommend though feel free to give it a try.
Aperture Priority mode lets you control the aperture while your camera selects the appropriate shutter speed. This mode is great when you want to control the depth of field—how much of the scene is in sharp focus. For portraits needing that lovely blurred (bokeh) background, set a low f-stop. For landscapes where you want everything in focus, opt for a higher f-stop. This mode gives you creative control without worrying about the shutter speed.
Shutter Priority mode flips it around. You set the shutter speed, and the camera takes care of the aperture. This is handy when capturing fast-moving subjects like kids playing soccer or birds in flight. Want to freeze a moment in time? Use a faster shutter speed. Trying to capture motion blur or light trails? Slow it down. This mode ensures you nail the action while the camera adjusts the aperture to maintain proper exposure.
Both these modes are fantastic for understanding how individual settings affect your photos. They offer a blend of control and automation, allowing you to focus on composition and storytelling while still learning. Use these modes as practice tools to get comfortable before diving headfirst into full manual mode.
The beauty of these priority modes is they help you see the impact of your adjustments in real-time, building the intuition needed for manual shooting. Play around with them, observe the changes, and soon enough, you’ll develop a sense of which settings pair well together under various conditions.
Practical Tips and Tricks: Becoming a Manual Mode Pro
Practice is really where you’ll see improvement. The more you experiment, the more comfortable you’ll become. Start with different lighting scenarios, from bright daylight to dim interiors, to get a hang of how settings work together.
Leverage tools like light meters and histograms. Your camera’s built-in light meter can guide you towards a balanced exposure. Histograms, those weird-looking graphs on your screen, show the brightness levels of your shot, helping you avoid over or underexposure.
Experiment with creative techniques. Long exposure is a fun one—think flowing waterfalls or star-streaked skies. Night photography also offers a whole new playground. Play with slow shutter speeds and high ISOs to capture stunning low-light scenes.
Don’t hesitate to make mistakes. Every professional has a stream of not-so-great photos behind their best shots. Each error teaches you something valuable. Mess up, then try again until it clicks—literally and figuratively.
Remember, this process should be enjoyable. Photography isn’t about perfection but about capturing moments and having fun doing it. Revisit spots you love, try new angles, and keep pushing your creative boundaries.