
Outdoor photography is all about capturing the beauty of the world around us. Think about those breathtaking landscapes, vibrant cityscapes, or even a candid shot of someone enjoying a sunny day at the park. It’s a genre that highlights the wonders of nature and human-made environments.
People love outdoor photography because it connects them to the world in a unique way. It’s about experiencing places from a different perspective and sharing those moments with others. Every outdoor setting offers something new—a fresh angle, a play of light, a distinctive mood.
Successful outdoor photography requires a mix of technical skills and creativity. It’s not just about having the right gear; practice to know how to use it effectively. Understanding how light works, mastering the art of composition, and having the patience to wait for the perfect moment are crucial.
Whether you’re just starting or looking to improve your existing skill set, you should find outdoor photography incredibly rewarding. You don’t need to travel to exotic locations to get amazing shots. Sometimes, the best photos are taken within your local area. It’s about training your eye to see the extraordinary in the ordinary.
Understanding Light and Weather Conditions
Lighting can make or break your outdoor photos. Knowing the best time of day to shoot is half the battle. Early morning and late afternoon, known as golden hours, are magical because the light is soft and warm. Midday light can be harsh, causing strong shadows and blown-out highlights. But don’t let that stop you. Sometimes, that harsh lighting can create striking high-contrast images.
Different weather conditions offer unique opportunities. Overcast days diffuse light, reducing shadows and creating even lighting. Rain can add mood and drama, while fog can create a mysterious, ethereal feel. Snow offers a bright, clean backdrop. Always check the weather forecast before you head out and be prepared to adapt.
Golden hour and blue hour refer to special times of the day when natural light is particularly enchanting. Golden hour happens during the first hour after sunrise and the last hour before sunset. Blue hour occurs just before sunrise and right after sunset, offering a cool, moody atmosphere. Magic hour is often synonymous with golden hour but can also include blue hour, depending on the effect that you are after.
Different weather challenges require different approaches. Wind can be both a hindrance and a boon. It can add motion to your scenes but also shake your camera. Using a sturdy tripod helps. Rain requires waterproof gear for your camera and maybe an umbrella for you. Cold weather can drain batteries quickly, so keep spares in a warm place.
Adapting to different conditions is the solution. If the light isn’t great, explore how you can still make an interesting shot. Shadows can add depth. Reflections in puddles after rain can be beautiful, so get down low to capture them. Fog can make an everyday scene look enchanting. Always be ready to experiment. Sometimes, the most challenging conditions can yield the most dramatic photos.

I shot this at Brixham during sunset
Mastering Composition and Framing
Getting the composition right is crucial when aiming for an impactful photo. Start with the rule of thirds, which is a classic technique. Imagine your frame divided into nine equal parts by two equally spaced horizontal lines and two equally spaced vertical lines. Place your subject at the intersection points for a more balanced and interesting shot. This guideline helps in drawing the viewer’s eye to the focal points naturally. I like to point out that rules are a guide and, therefore not always applicable.
Leading lines are another powerful tool. They guide the viewer’s gaze through the photo, creating a sense of depth and dimension. Think of paths, rivers, or even railroad tracks that pull the eye along a path in your image. Using leading lines can make your pictures come alive.
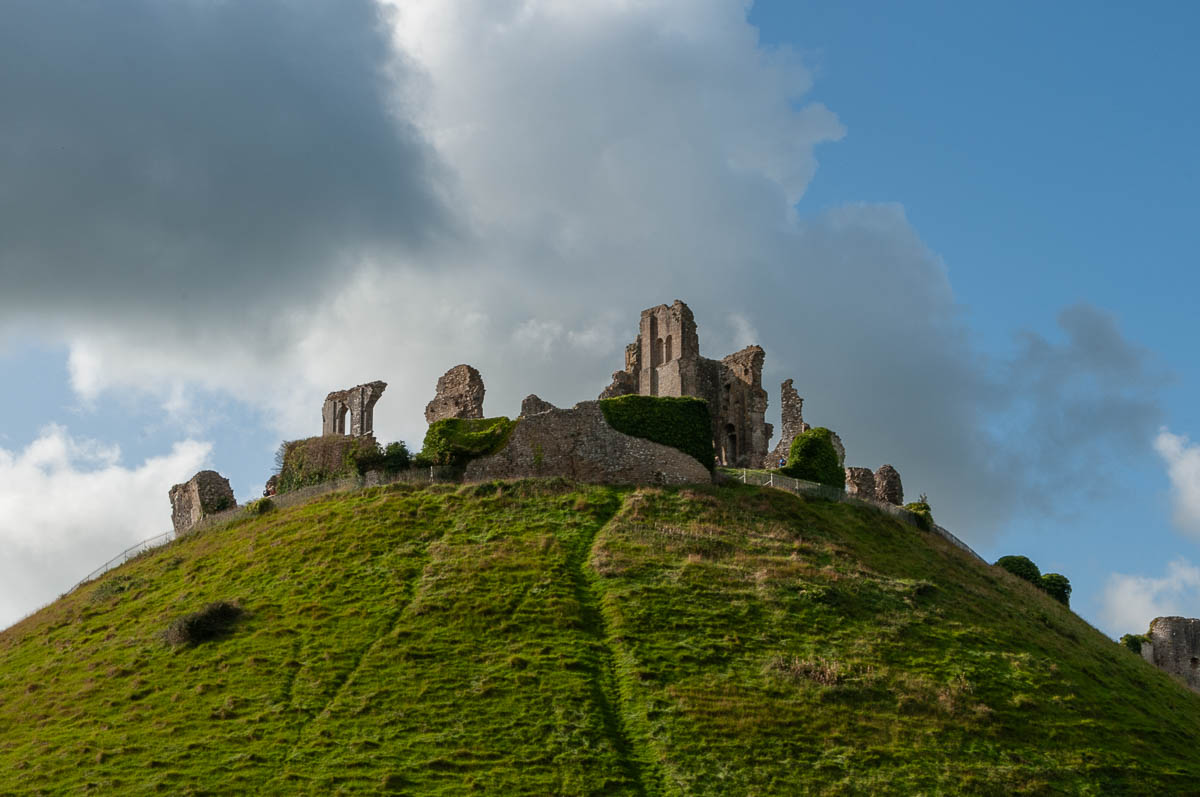
Incorporating natural elements into your framing adds layers and context. Trees, rocks, or cloud formations can help frame your subject, adding a sense of place and story. These elements can serve as both connectors and dividers within your composition. Hey, we end up making these choices without realising, that’s a wow, right?
Angles and perspectives can change the entire mood of a photo. Explore by shooting from different heights—get low to the ground or find a higher vantage point. Sometimes, a shift in perspective is all you need to find a unique shot that stands out. Believe me so many of us including me forget we can move ourselves to different positions.
Balancing the foreground, middle ground, and background is essential for creating a three-dimensional feel. Include elements in each part to add depth and interest. For instance, place a flower in the foreground, a hiker in the middle ground, and mountains in the background. This layered approach makes an image more engaging.
Good composition takes practice, but don’t be afraid to break the rules once in a while. Sometimes, the most captivating photos come from experimenting and finding what works best for the scene you’re photographing.
Essential Gear and Settings for Outdoor Photography
First off, having the right gear can make a big difference, but don’t stress if you’re not packing the latest DSLR. A solid camera and a versatile lens are your bread and butter. A wide-angle lens is fantastic for landscapes, while a telephoto lens helps you capture distant subjects with ease.
Accessories can elevate your outdoor photography. A sturdy tripod is invaluable, especially in low light or for long exposure shots. Filters, like polarizers and ND filters, are your best friends for managing reflections and controlling light. Don’t forget extra batteries and memory cards.
Camera settings are the next piece of the puzzle. For starters, always shoot in RAW format if you want to get the most flexibility in post-processing. Understanding ISO, aperture, and shutter speed is crucial. Lower ISO is a way to keep noise at bay while a wide aperture (low f-stop) creates that lovely background blur. Shutter speed depends on what you’re capturing—fast for frozen action, slow for dreamy long exposures.
Manual mode offers complete control but can seem overwhelming. Start with Aperture Priority mode if you’re new to manual settings. This lets you focus on adjusting the aperture while the camera handles the rest. As you get more comfortable, switch to a full manual to fine-tune every aspect of your shot.
Remember to adapt your settings based on the light and scene. Bright days may need a narrow aperture (high f-stop) to avoid overexposure. Low light? Open up that aperture and bump up the ISO just enough to get a clear shot without too much noise. Play around and see what works best in different scenarios. Your camera is a powerful tool—learning how to utilise it effectively is half the fun.
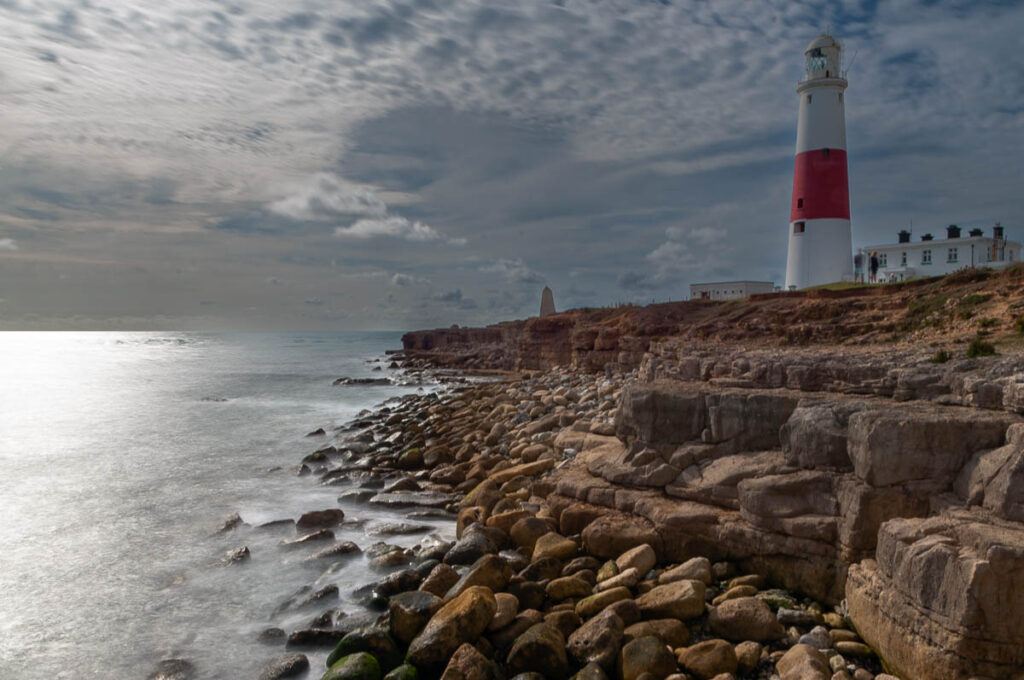
Photograph of Portland Bill (f/22 at 8 seconds)
Post-Processing and Enhancing Your Photos
Post-processing is where your photos often go from good to great. It’s not about creating fake images but enhancing what’s already there. Software like Adobe Lightroom/Classic and Photoshop are industry standards for a reason. They offer powerful tools to bring out the best in your captures.
Start with the basics: adjust exposure, contrast, and white balance to ensure your photo has the right brightness and color tones. These basic tweaks can drastically improve the quality of your images. Use highlights and shadows to add depth and dimension.
Advanced techniques can add that professional touch. Dodging and burning, for instance, can help you selectively lighten or darken areas of your photo to guide the viewer’s eye. Playing with color grading can alter the mood and feel of your image, making it more dramatic or calmer depending on the tones you use.
One of the most valuable skills is learning how to preserve the natural look of your photo while enhancing it. Over-editing can make a photo look unrealistic and lose its charm. Subtlety is often your best ally here. Use tools like clarity and sharpness sparingly to maintain a balanced look.
Having an efficient workflow can save you time. Organize your photos, create presets for repetitive tasks, and learn keyboard shortcuts. These little hacks can streamline your editing process, allowing you to spend more time shooting and less time at the computer.
Post-processing is the final step in your photography journey, adding the finishing touch to your hard-earned shots. Embrace it, experiment, and have fun. It’s a chance to put your stamp on your images.
Nice article. I also find that improving outdoor photography can greatly enhance the quality and appeal of your images. Key elements to focus on include understanding natural light, using the golden hour for the best lighting, and mastering composition techniques like the rule of thirds. Investing in a good quality lens and understanding your camera settings are also crucial. By paying attention to these aspects, you’ll be able to capture stunning outdoor photographs that truly stand out. Thanks
You’ve nailed it! Mastering natural light, the golden hour, and composition techniques can make such a difference in outdoor photography. Your enthusiasm and focus on these key elements are sure to lead to some incredible shots. Keep exploring and refining your skills—each photo is a step towards capturing something truly unique and stunning. I hope your photographs end up as you envisage! And thank you for your wonderful comment.