
I would now like to discuss with you “Exposure” as it’s the secret sauce in photography – get it right, and your photos will pop. But if it’s off, everything else falls apart. So, I’ll break it down simply: exposure is all about how much light hits your camera’s sensor. Three main parts go into this: aperture, shutter speed, and ISO.
“Aperture” is like the pupil of your eye – it controls how much light gets let in. A wide aperture (low f-number/stop) means more light and a shallow depth of field, which is great for portraits. On the flip side, a narrow aperture (high f-number/stop) brings in less light and gives you a deeper depth of field, perfect for landscapes.
“Shutter speed” is the blink of your camera’s eye. It’s all about how long your camera’s sensor is exposed to light. Fast shutter speeds freeze action (good for sports), while slow speeds can blur motion (think artistic light trails at night).
“ISO” is your camera’s sensitivity to light. Low ISO means less sensitivity and clearer images, but you need more light. High ISO boosts the sensor’s sensitivity, which lets you shoot in darker conditions, but too much can make your photos grainy.
Why fuss so much about exposure? Perfect exposure brings out the best colors, contrasts, and details in your shots. It’s the difference between a dull, flat image and one that vividly captures your subject.
Mastering Exposure in Bright Lighting Conditions
Bright light might seem perfect for photography, but it can throw some serious curveballs. Overexposed shots where details get lost are common issues. Here’s how to win this game.
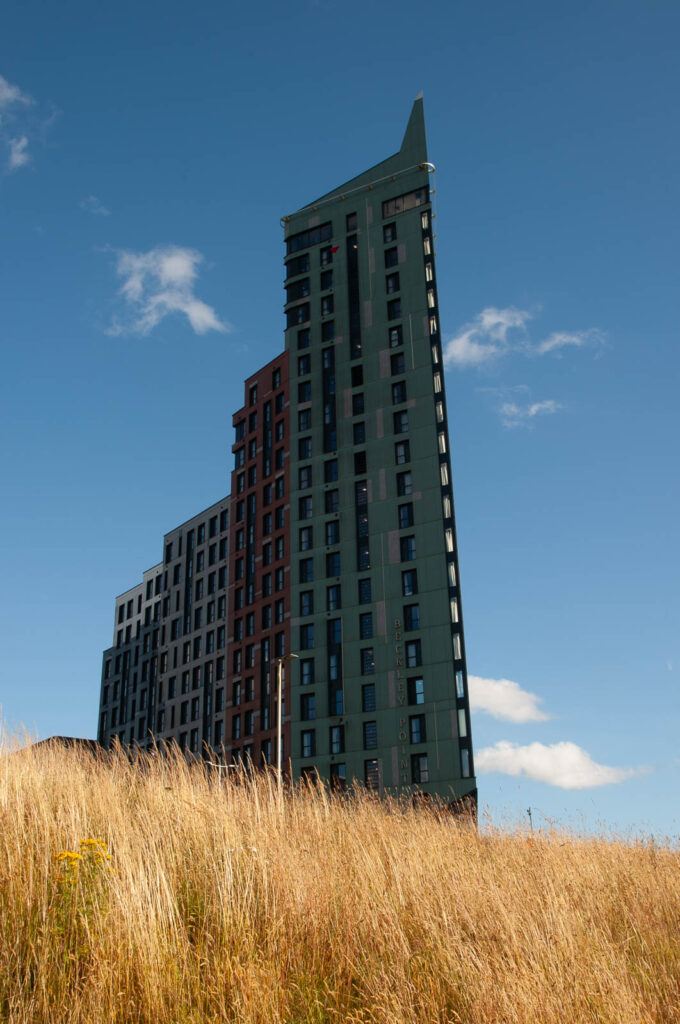
First up, understand the challenges. Harsh sunlight creates strong contrasts, deep shadows, and those washed-out highlights that nobody wants. It’s a balancing act to get your subject lit just right without sacrificing detail.
A handy tool in bright conditions is a Neutral Density (ND) filter. Think of it as sunglasses for your camera – it cuts down the light without affecting color balance. Great for keeping things under control when the sun’s blazing.
Remember ISO allows more light to hit your sensor, so the darker the environment the higher the ISO must be set, there may be consequences of having a grainy photo, so always good to use the aperture, and shutter speed settings first before using high ISOs of 800 plus.
When shooting in bright light, playing with shutter speeds can help too. Fast shutter speeds (like 1/1000 or faster) reduce the time light hits the sensor, preventing overexposure while still freezing motion.
In case you’re still fighting overexposure, tap into exposure compensation on your camera. Dial down by one or two stops to retain detail in bright parts without making the whole shot too dark.
Let’s not skip polarizing filters. They can cut through glare and reflections, especially when you’re shooting water or glass surfaces. They also punch up the sky, making blue skies bluer and clouds pop.
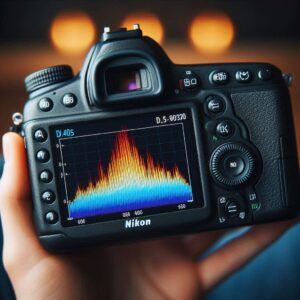
For those of you with a digital SLR, checking your histogram is another good practice. Make sure it’s not all jammed up on the right side (which indicates overexposure). Aim for a balanced graph to ensure a well-exposed photo.
To tie it all together, experiment with techniques and settings. There isn’t a one-size-fits-all; different lighting calls for tweaking different elements. Practice makes perfect – over time, you’ll nail exposure in any bright situation.
Achieving Perfect Exposure in Low-Light Conditions
Low-light photography can feel like a whole different ball game. Shadows swallow details, and your camera’s sensor struggles to grab enough light, making it a real challenge to keep your shots crisp and clear.
First, make peace with your tripod. In low light, you often need longer exposure times to let in more light, and even the steadiest hands aren’t steady enough. A good tripod ensures sharp images by holding your camera perfectly still.
Cranking up the ISO is another option, but do it carefully. Higher ISO settings make your sensor more sensitive to light, which is great for dark settings. But beware – the higher you go, the more noise (grain) creeps into your shots. Play around to find the sweet spot that balances light sensitivity and image quality.
When it comes to aperture, you’ll want to open it up wide (low f-number). This allows maximum light to hit the sensor, helping to lighten up your scene. Just remember, a wide aperture also means a shallow depth of field, so focus carefully on your subject.
Boosting exposure doesn’t always mean compromising quality. Try using artificial light sources like LEDs, which can brighten up your scene without pushing your camera settings to their limits. Reflectors can also bounce light exactly where you need it without adding harsh shadows.
I find that Post-processing can save the day when you can’t get the exposure just right in-camera. Software l use is Adobe Lightroom Classic or Photoshop which offers tools to brighten shadows and rescue overblown highlights. But, avoid over-editing – it’s a delicate dance to maintain a natural look.
In low light, the technique helps a lot. Steadier hands, slower, more deliberate shots, and the right combination of settings can transform a gloomy scene into something magical. Every shot is a learning experience, so embrace the process and keep experimenting.
Adapting to Changing Lighting Conditions
Ever shot an outdoor event or a bustling city street? Then you know how the weather conditions can quickly affect the light. One minute there’s full sun and the next, clouds roll in. Adapting quickly is crucial, and here are some solid strategies to keep your exposure spot-on.
Start with understanding your camera’s exposure compensation. This feature lets you make quick adjustments without fumbling through settings. If the light suddenly changes, bumping up or down a couple of f-stops can save the shot.
Auto ISO can also be a lifesaver. Set a base and max ISO, and let your camera handle the rest. It’s not foolproof, but gives you a fighting chance when conditions are unpredictable.
For more control, use the bracketing setting. This usually means that the camera will take three shots at different exposures. Later in post-processing, you can blend these to create a perfectly exposed image.
Light meters aren’t just for pros. These tools can accurately measure the light in your scene, helping you adjust settings on the fly. It’s an extra step, but can seriously boost your hit rate in tricky lighting.
I prefer to shoot in manual mode. Yes, it’s a bit more work, but nothing beats full control. Pay close attention to your histogram to catch exposure issues early. Adjust as needed to keep everything balanced.
Don’t shy away from post-processing to correct exposure. Tools like Lightroom do wonders for salvaging shots where lighting didn’t cooperate. Tweak shadows, highlights, and contrast to get the balance just right.
Below is an example of using Adobe Lightroom Classic
Photography is about improvisation and adaptability. Light changes, and so must you. Stay responsive, keep learning, and enjoy the process. With time, handling varied lighting conditions will become second nature.
Robbie