Welcome to another blog, If you’re passionate about wildlife photography like I am, you know that capturing the perfect image of a bird in its natural habitat is both thrilling and challenging. Recently, I added a new zoom lens to my gear, the Sigma 745306 150-600mm F/5-6.3 DG HSM Contemporary Zoom Lens. it’s the perfect companion for photographing birds and wildlife. In this post, I’ll share some tips and tricks I’ve picked up, to help you make the most of your bird photography, I hope you will find it useful in your journey in photography. Let’s dive into the fascinating world of bird photography and explore how to get those stunning, frame-worthy shots!
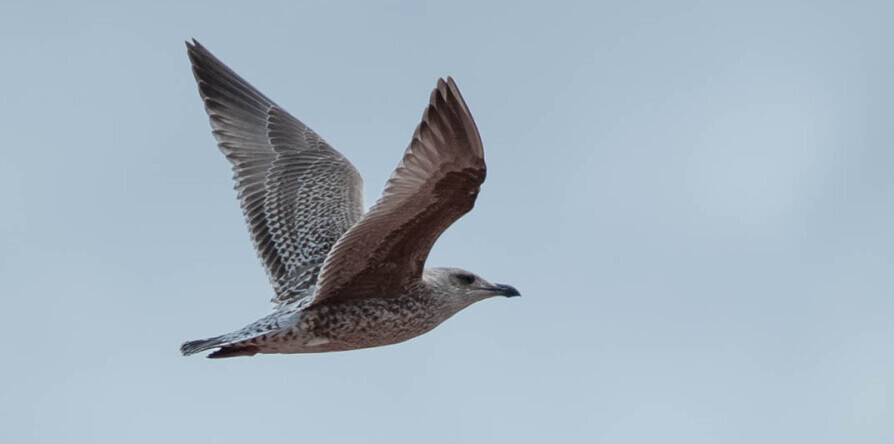
Understanding bird behavior and habitats is a good way forward to bird photography. Birds are creatures of habit, and knowing their routines can give you a greater chance of success. Spend time observing them without your camera first. Notice when they’re most active, where they feed, and how they interact with their environment. Taking birdseed is useful, especially in the winter months
Start with a mid-range DSLR or mirrorless camera with good autofocus. A telephoto lens is a must since getting close to birds physically can be tricky. I started with a 300mm lens, but this didn’t fully meet the desired outcome. Don’t forget a sturdy tripod or monopod, it stabilizes your shots, especially when using heavy lenses over long periods.
Basic camera settings for bird photography are critical for capturing sharp images. Aim for shutter speeds for large birds (Eagles) 1/500th – 1/1000th sec, medium (Pidgeons) birds 1/1000th – 1/2000th sec, and small birds (Sparrows) 1/2500th – 1/4000th sec. This is for sharp images.
Use continuous autofocus to track birds in flight and set your camera to burst mode to capture a series of images. High ISO settings can help maintain fast shutter speeds in low light conditions but be mindful of noise. An aperture depends on what kind of image you want, f5.6 is good for birds in flight, static birds f8 to f11, and f6.3 for group images
Choosing the right locations and times for bird spotting greatly increases your chances of success. Early mornings and late afternoons are good times as birds are most active during these periods. Consider joining bird-watching groups or using apps to stay updated on sightings in your area.
Camera Settings and Techniques
Manual mode can seem intimidating, however, you have complete control over your images. Adjust the aperture, shutter speed, and ISO manually to match the conditions. Practice makes perfect, so experiment and learn from your mistakes.
Mastering the art of focusing on fast-moving subjects takes your bird photography will be a challenge. Continuous autofocus is helpful. Pre-focus on a spot where you expect the bird to appear, or follow the bird in your viewfinder, keeping it centered.
Utilizing different perspectives and angles can make your photos stand out. Don’t always shoot from eye level. Try getting lower for a more intimate view or higher for a unique vantage point. Move around to find the best background and lighting. Creativity in angles keeps your photos fresh and exciting.
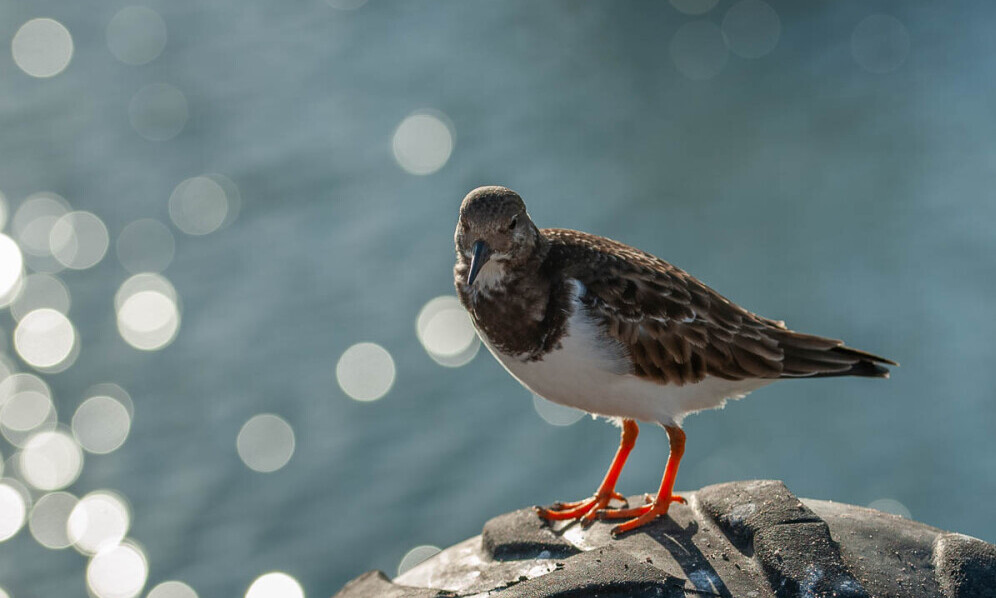
Incorporating motion to capture dynamic shots brings your images to life. Panning – moving the camera while following the bird – requires practice but results in striking images that convey motion. Use slower shutter speeds to blur in the background while keeping the bird sharp. It’s a technique that adds energy and drama to your images.
The Role of Patience and Ethics in Bird Photography
The importance of patience and perseverance can’t be overstated in bird photography. Birds are unpredictable, and waiting hours for the perfect shot is often part of the task. Bring something comfortable, like a portable chair, snacks, and water. Keep yourself relaxed, and enjoy the natural surroundings while you wait.
Best practices for minimising disturbance to birds are crucial for ethical reasons and the quality of your photos. Approach birds slowly and quietly, avoiding sudden movements or loud noises. Maintaining a respectable distance ensures you don’t disrupt their natural behaviors. A telephoto lens of 600mm is ideal for capturing great images without getting too close.
Ethical shooting guidelines and wildlife should always be at the forefront. Avoid shooting during nesting season or when birds are feeding their young to lessen stress on the birds. Stick to established trails and viewing areas to protect delicate habitats. Always leave the environment as you found it, with no traces left behind.
Conservation efforts and how photographers can contribute to protecting bird populations. Promote awareness about the importance of bird habitats. Your images can inspire others to appreciate and protect these beautiful creatures.
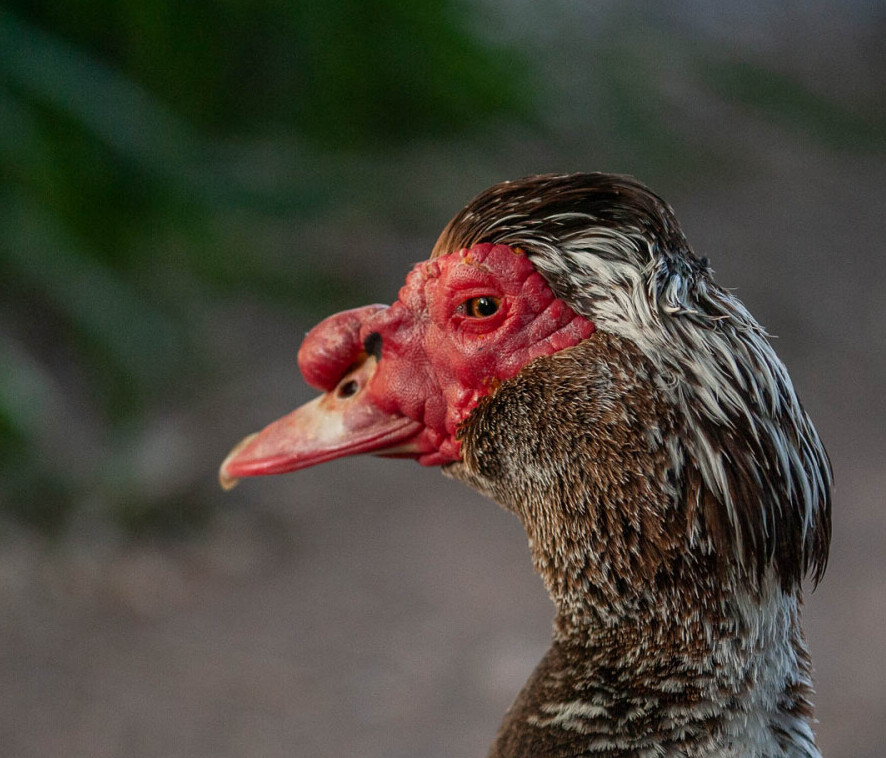
Post-Processing Tips: Enhancing Your Bird Photos
Introduction to photo editing software is essential for making the most of your bird images. Software like Adobe Lightroom and Photoshop are industry standards. Programs like these offer numerous features for fine-tuning your photos. Explore tutorials and guides to get comfortable with the basics.
Basic editing techniques to improve your images include adjusting exposure, contrast, and saturation. Cropping your image to highlight the bird and remove distractions is a simple but powerful tool.
Advanced editing tips for professional results can take your images from good to great. Use layers and masks in Photoshop to make selective edits without affecting the entire image. Play with color grading to give your photos a distinctive look. Noise reduction tools can help clean up high ISO shots, making them look more polished.
Organizing and managing your photo library effectively keeps your workflow smooth. Tag your photos with keywords like species, location, and date. Back up your files regularly to prevent any devastating losses.
*This post contains affiliate links. If you make a purchase through these links, I may earn a commission at no extra cost to you*.

Hello. I have my own personal website about wildlife. Sometimes I talk about photography and that kind of thing you are absolutely right that it is all about Patience. Sometimes it takes a long time it can be very rewarding when you finally do get the pictures taken. This is a great article
Hi Jake. thanks for checking out my website. I’m glad you found my article useful. Yes, patience is key when it comes to wildlife photography. It can take a while, but it’s always worth it when you finally get that perfect image. I appreciated your comment.
All the best
Robbie
This article provides a fantastic overview of the nuances involved in bird photography. Understanding bird behavior and habitats is truly essential for capturing stunning and authentic shots, and you’ve highlighted that perfectly. I appreciate how you’ve broken down complex concepts into actionable tips, especially for those of us who are constantly learning and refining our techniques. The emphasis on patience and observing birds in their natural environment is something that resonates with me deeply, as it really does lead to more meaningful and impactful images. Great read!
Thank you so much, Aris! I’m so glad you found the article helpful and that the emphasis on understanding bird behavior and habitats resonated with you. Patience and observation can make all the difference in capturing those authentic and impactful shots. Your feedback means a lot, especially knowing these tips were useful to you, as we all continue to refine techniques.
All the best
Robbie
Hi Robbie,
I thoroughly enjoyed your post on bird photography! Your insights on understanding bird behavior and habitats as a foundation for capturing those perfect shots really resonate with me. I especially appreciate the tips on camera settings for different bird sizes and the emphasis on patience and ethics—these are such crucial aspects that sometimes get overlooked.
I’m curious, though, about your approach to post-processing. You mentioned using Adobe Lightroom and Photoshop for editing, which I agree are powerful tools. How much do you think the editing process should influence the final image? Do you have any specific techniques or preferences when it comes to maintaining the natural look of the birds while still enhancing the photo’s overall impact? I often struggle with finding the right balance between enhancing the photo and staying true to what I saw in the field.
Another question I had is about your experience with the Sigma 150-600mm lens. How do you find it performs in low-light conditions, particularly during early mornings or late afternoons when birds are most active? Do you rely heavily on post-processing to manage any noise or sharpness issues that might arise in those settings?
Lastly, for someone just starting out, what would you say is the most critical skill to develop—mastering manual settings, understanding bird behavior, or perhaps something else? Your perspective could really help beginners prioritize their learning.
Looking forward to hearing your thoughts!
Best,
Opa
Thank you, Opa. I’m glad you enjoyed my post and found the insights on bird behavior, camera settings, and ethics helpful. It’s always rewarding to connect with fellow photographers who share the same passion and approach to capturing these beautiful creatures.
Post-processing is a great tool to bring out the best in your images, but I believe it should always serve to enhance what was already there rather than completely transforming the shot. My approach to editing in Lightroom Classic and Photoshop is to start with subtle adjustments, tweaking highlights and shadows while keeping an eye on maintaining the natural look of the bird and its environment. For me, the key is to preserve authenticity, so I tend to avoid heavy-handed editing that could make the image look unnatural. I also use selective adjustments to ensure that only certain parts of the image are enhanced, which helps keep the focus on the bird while staying true to what was captured in the field.
As for the Sigma 150-600mm lens, it’s been a reliable companion for bird photography, especially in low-light conditions. Early mornings and late afternoons can be challenging, and I find that the lens handles these situations well, particularly when paired with a camera that performs decently at higher ISO levels. Of course, some noise is inevitable in such settings, but I try to minimize it through careful exposure management and sometimes use noise reduction in post-processing. The trick is to balance noise reduction with maintaining detail, which can be a delicate process.
For beginners, I’d say understanding bird behavior is beneficial. Knowing where and when to find birds and predicting their movements can drastically improve your chances of capturing compelling shots. While mastering manual settings is important, you’ll find that being in the right place at the right time, and understanding your subject, can often make the difference between a good image and a great one. That said, getting comfortable with your camera settings will certainly enhance your ability to seize those moments when they arise. The exposure triangle is good to remember.
Thanks again for your thoughtful questions, I would love to hear about your experiences as you continue your journey in bird photography.
All the best
Robbie